Group Objects
Create a Group from Multiple Objects
-
Open your Studio project and add more than one object or drawing to the clip.

-
Select the objects you want to group, click on the 3 dots next to one of the highlighted objects, then select Create Group.

-
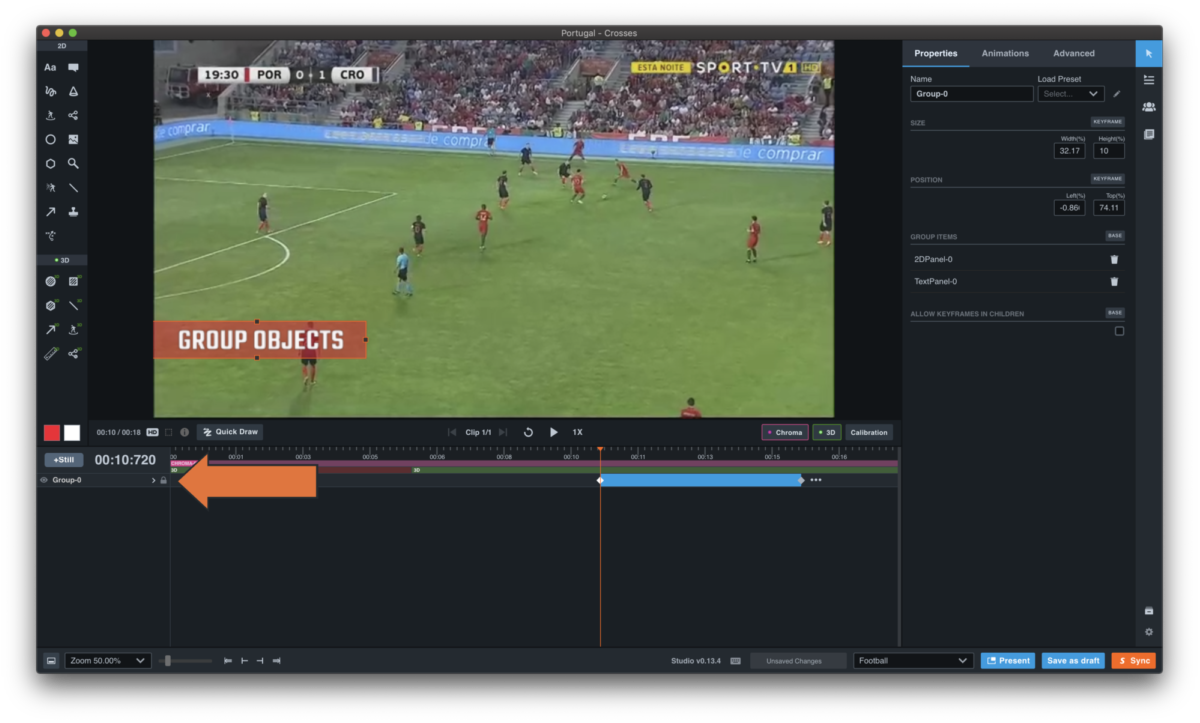
As shown below, the objects on the timeline are grouped together and no longer visible as separate objects, but are shown on the timeline as “Group 0”.


Remove an Object from a Group
-
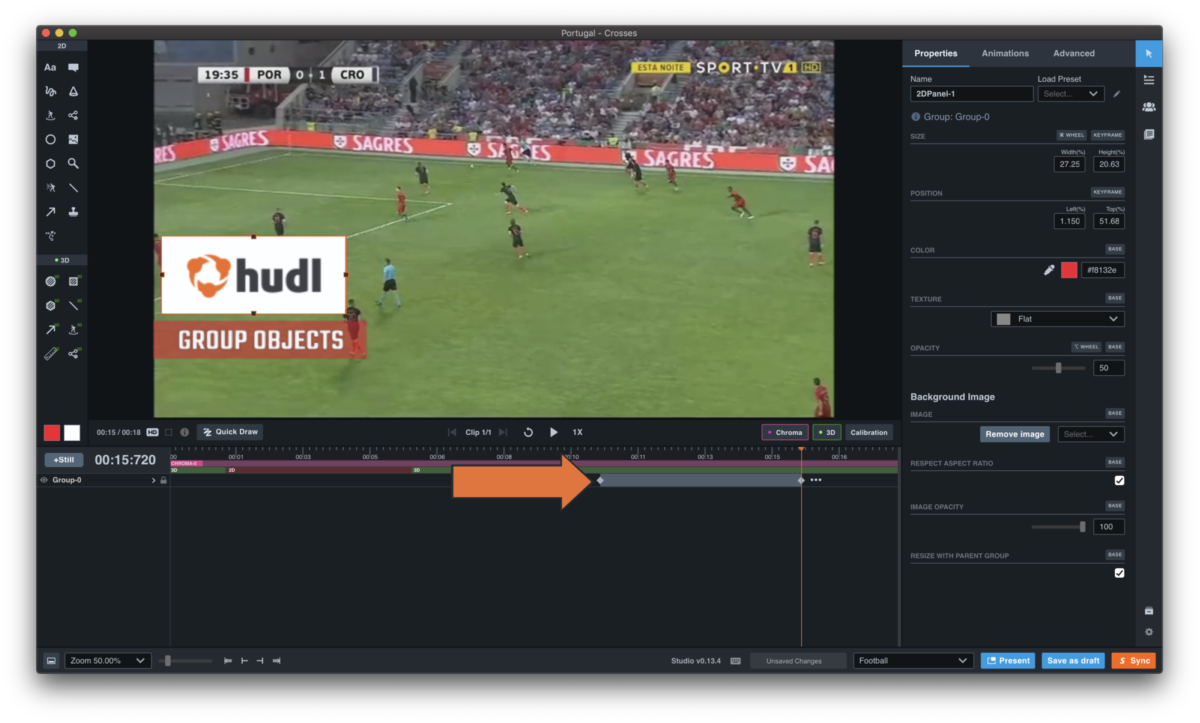
To take an object out of a group, select the group on the timeline. On the right side you can see the objects that are in that group.

-
Click the trash icon. When you do this, the object will be taken out of the group and shown as a separate object on the timeline again.


Add an Object to an Existing Group
-
If you've added a new drawing and you want to add that object to an already-existing group, select the newest object and click the 3 dots next to it on the timeline. Then click Add to Group and select the group you want to add the object to.

-
Once added to the group, the object will not show separately on the timeline anymore, but as part of the specified group.


Try using this group as a panel!