Create Custom Title Slides Using Powerpoint - Organizer
The image quality of your title slides will match the quality of your video. When using low quality video, you may notice the title slides are slightly blurred during playback.
-
Create your title slide(s) in Powerpoint.

Be sure to set the slide size to match the aspect ratio of your video. Usually Powerpoint slides are set to 4:3 by default, but the vast majority of video is 16:9. Click the Design tab, and then click Slide Size. Select Widescreen (16:9) to change the slide aspect ratio.
-
Click File > Export once you have finished designing all of your title slides.

In older versions of Powerpoint, click File > Save As Pictures.
-
Name the file in the Export As field. This will be the name of the folder containing all the new slide images. Make sure the File Format is JPEG and check the Save Every Slide checkbox. Finally, change the image size to 1280 x 720 for widescreen video. Click Export.

Try saving files to the Desktop so they can be easily found after saving.
-
Press Command + A (Select All) and then press Command + C (Copy).

-
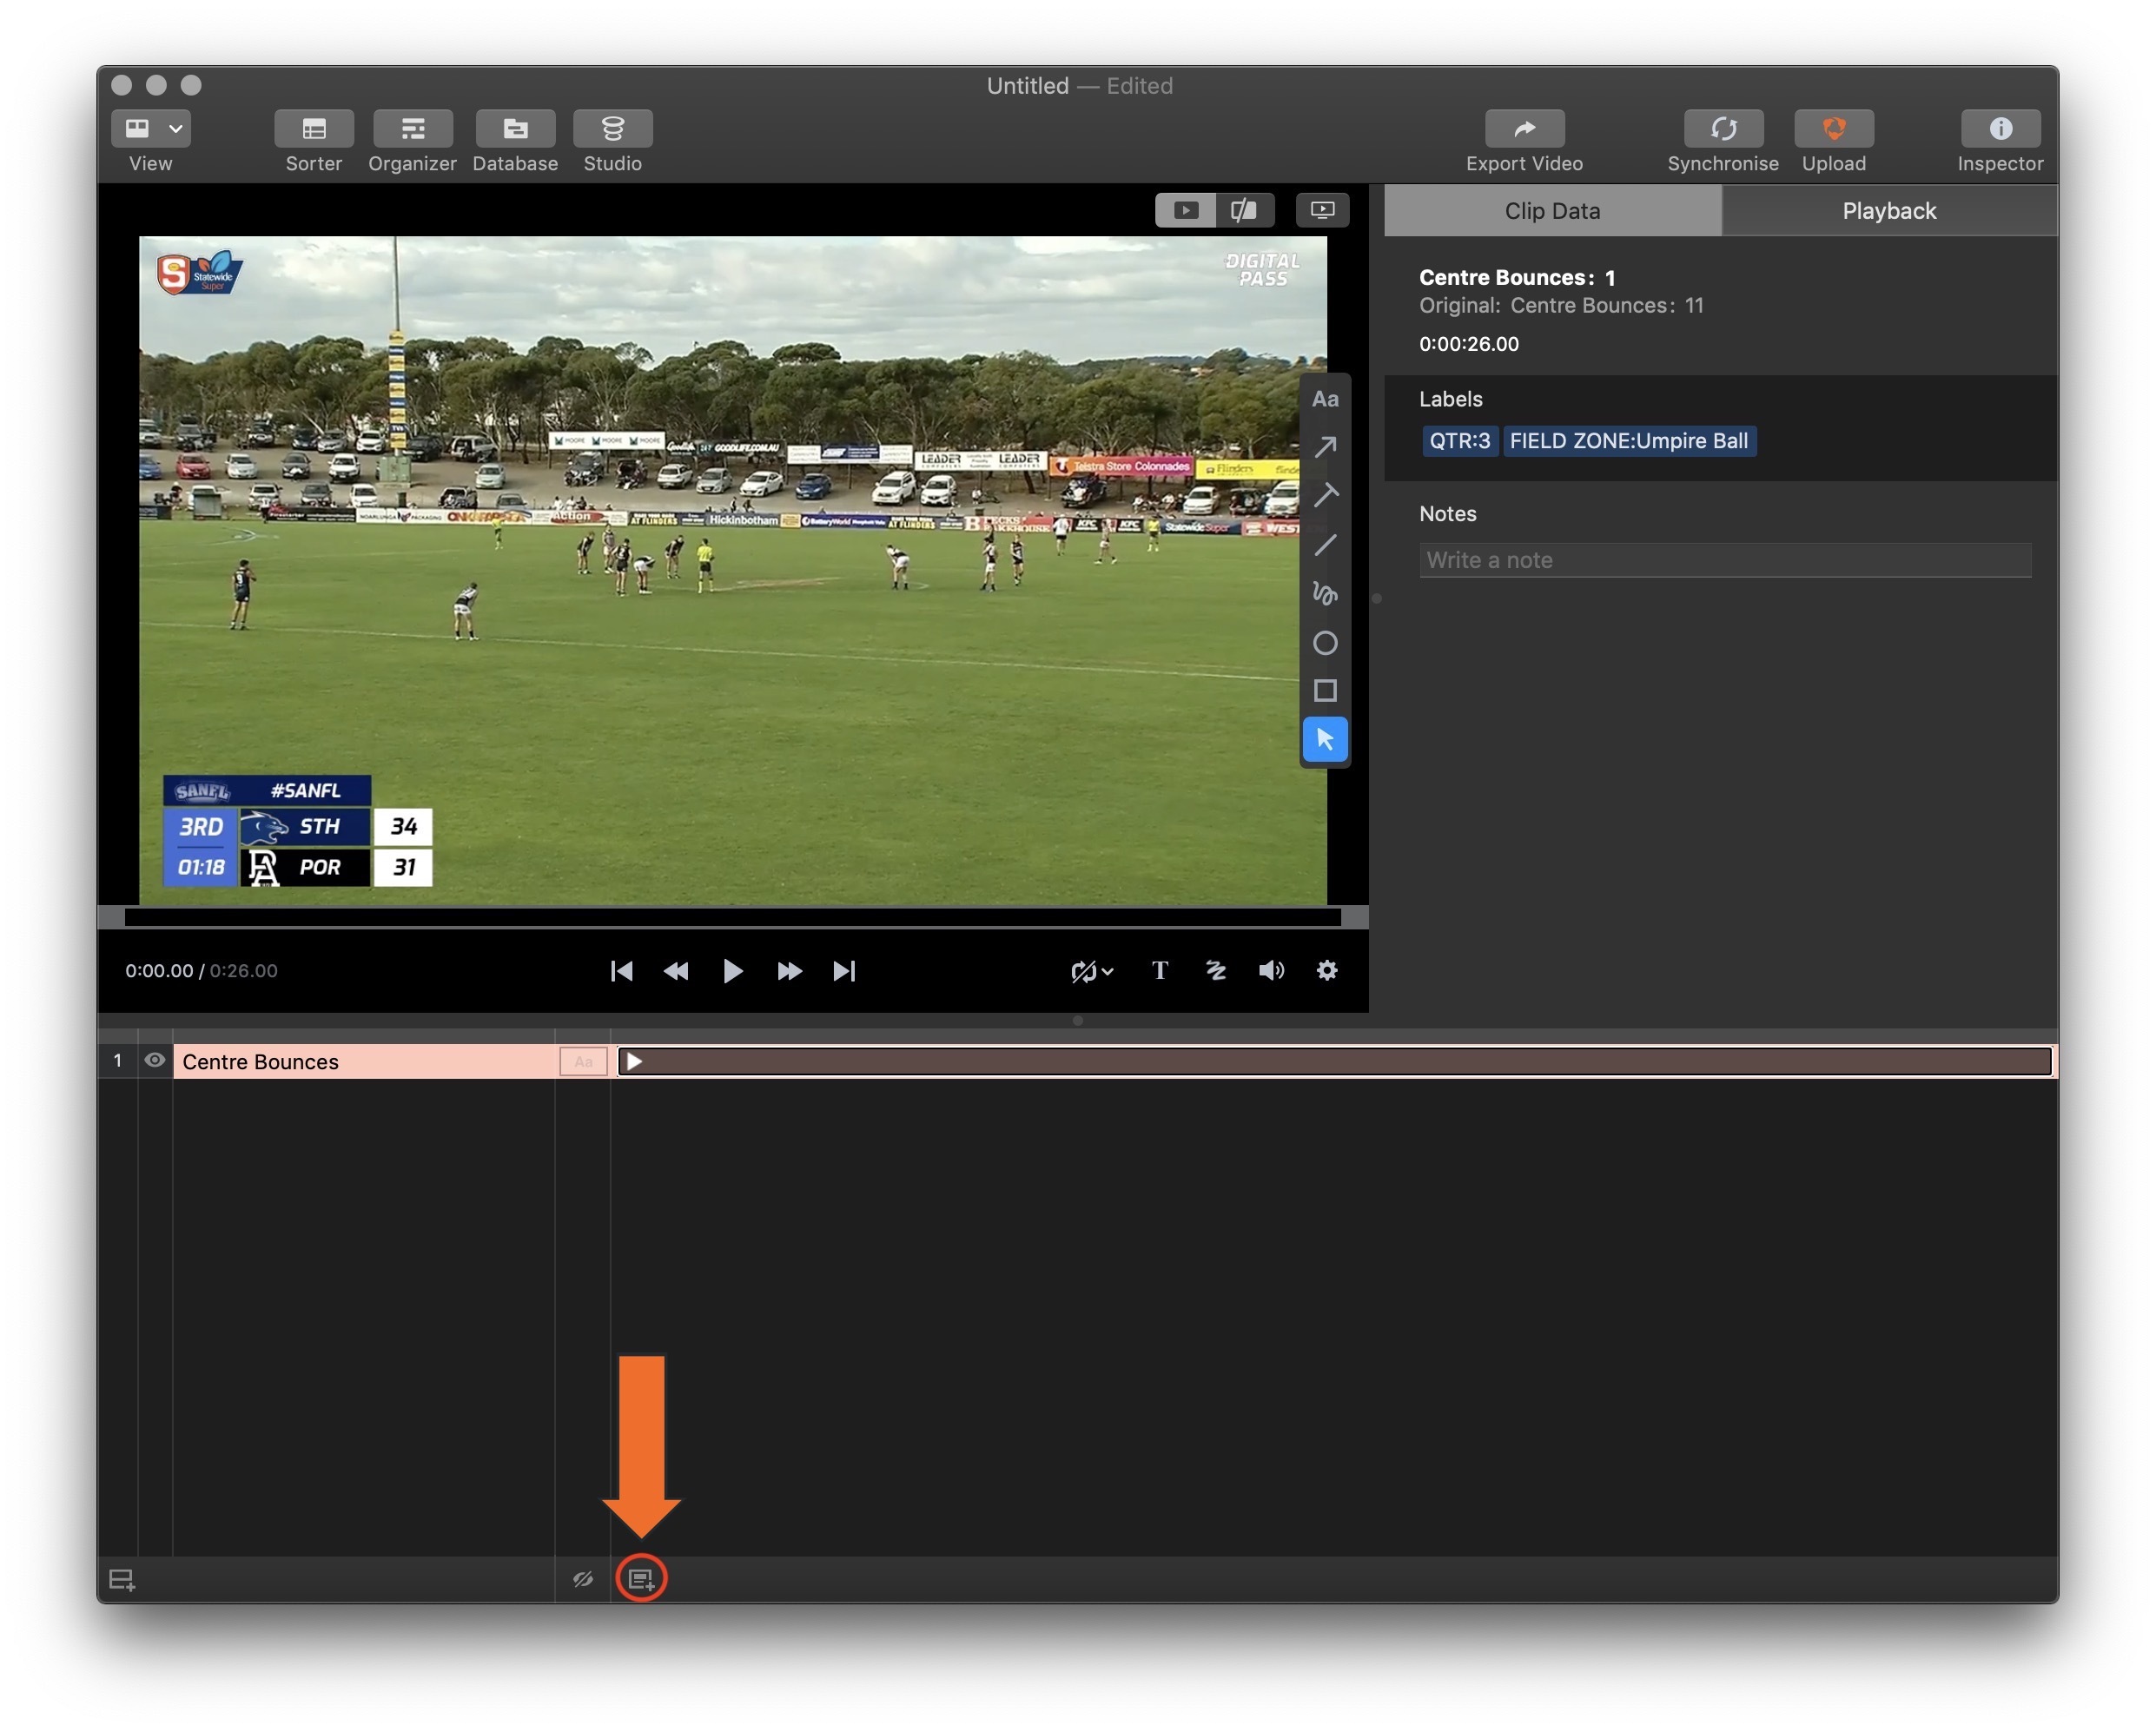
Click the New Slide button in your organizer to add a new row.

-
Select the instance where you'd like to place the slide.

-
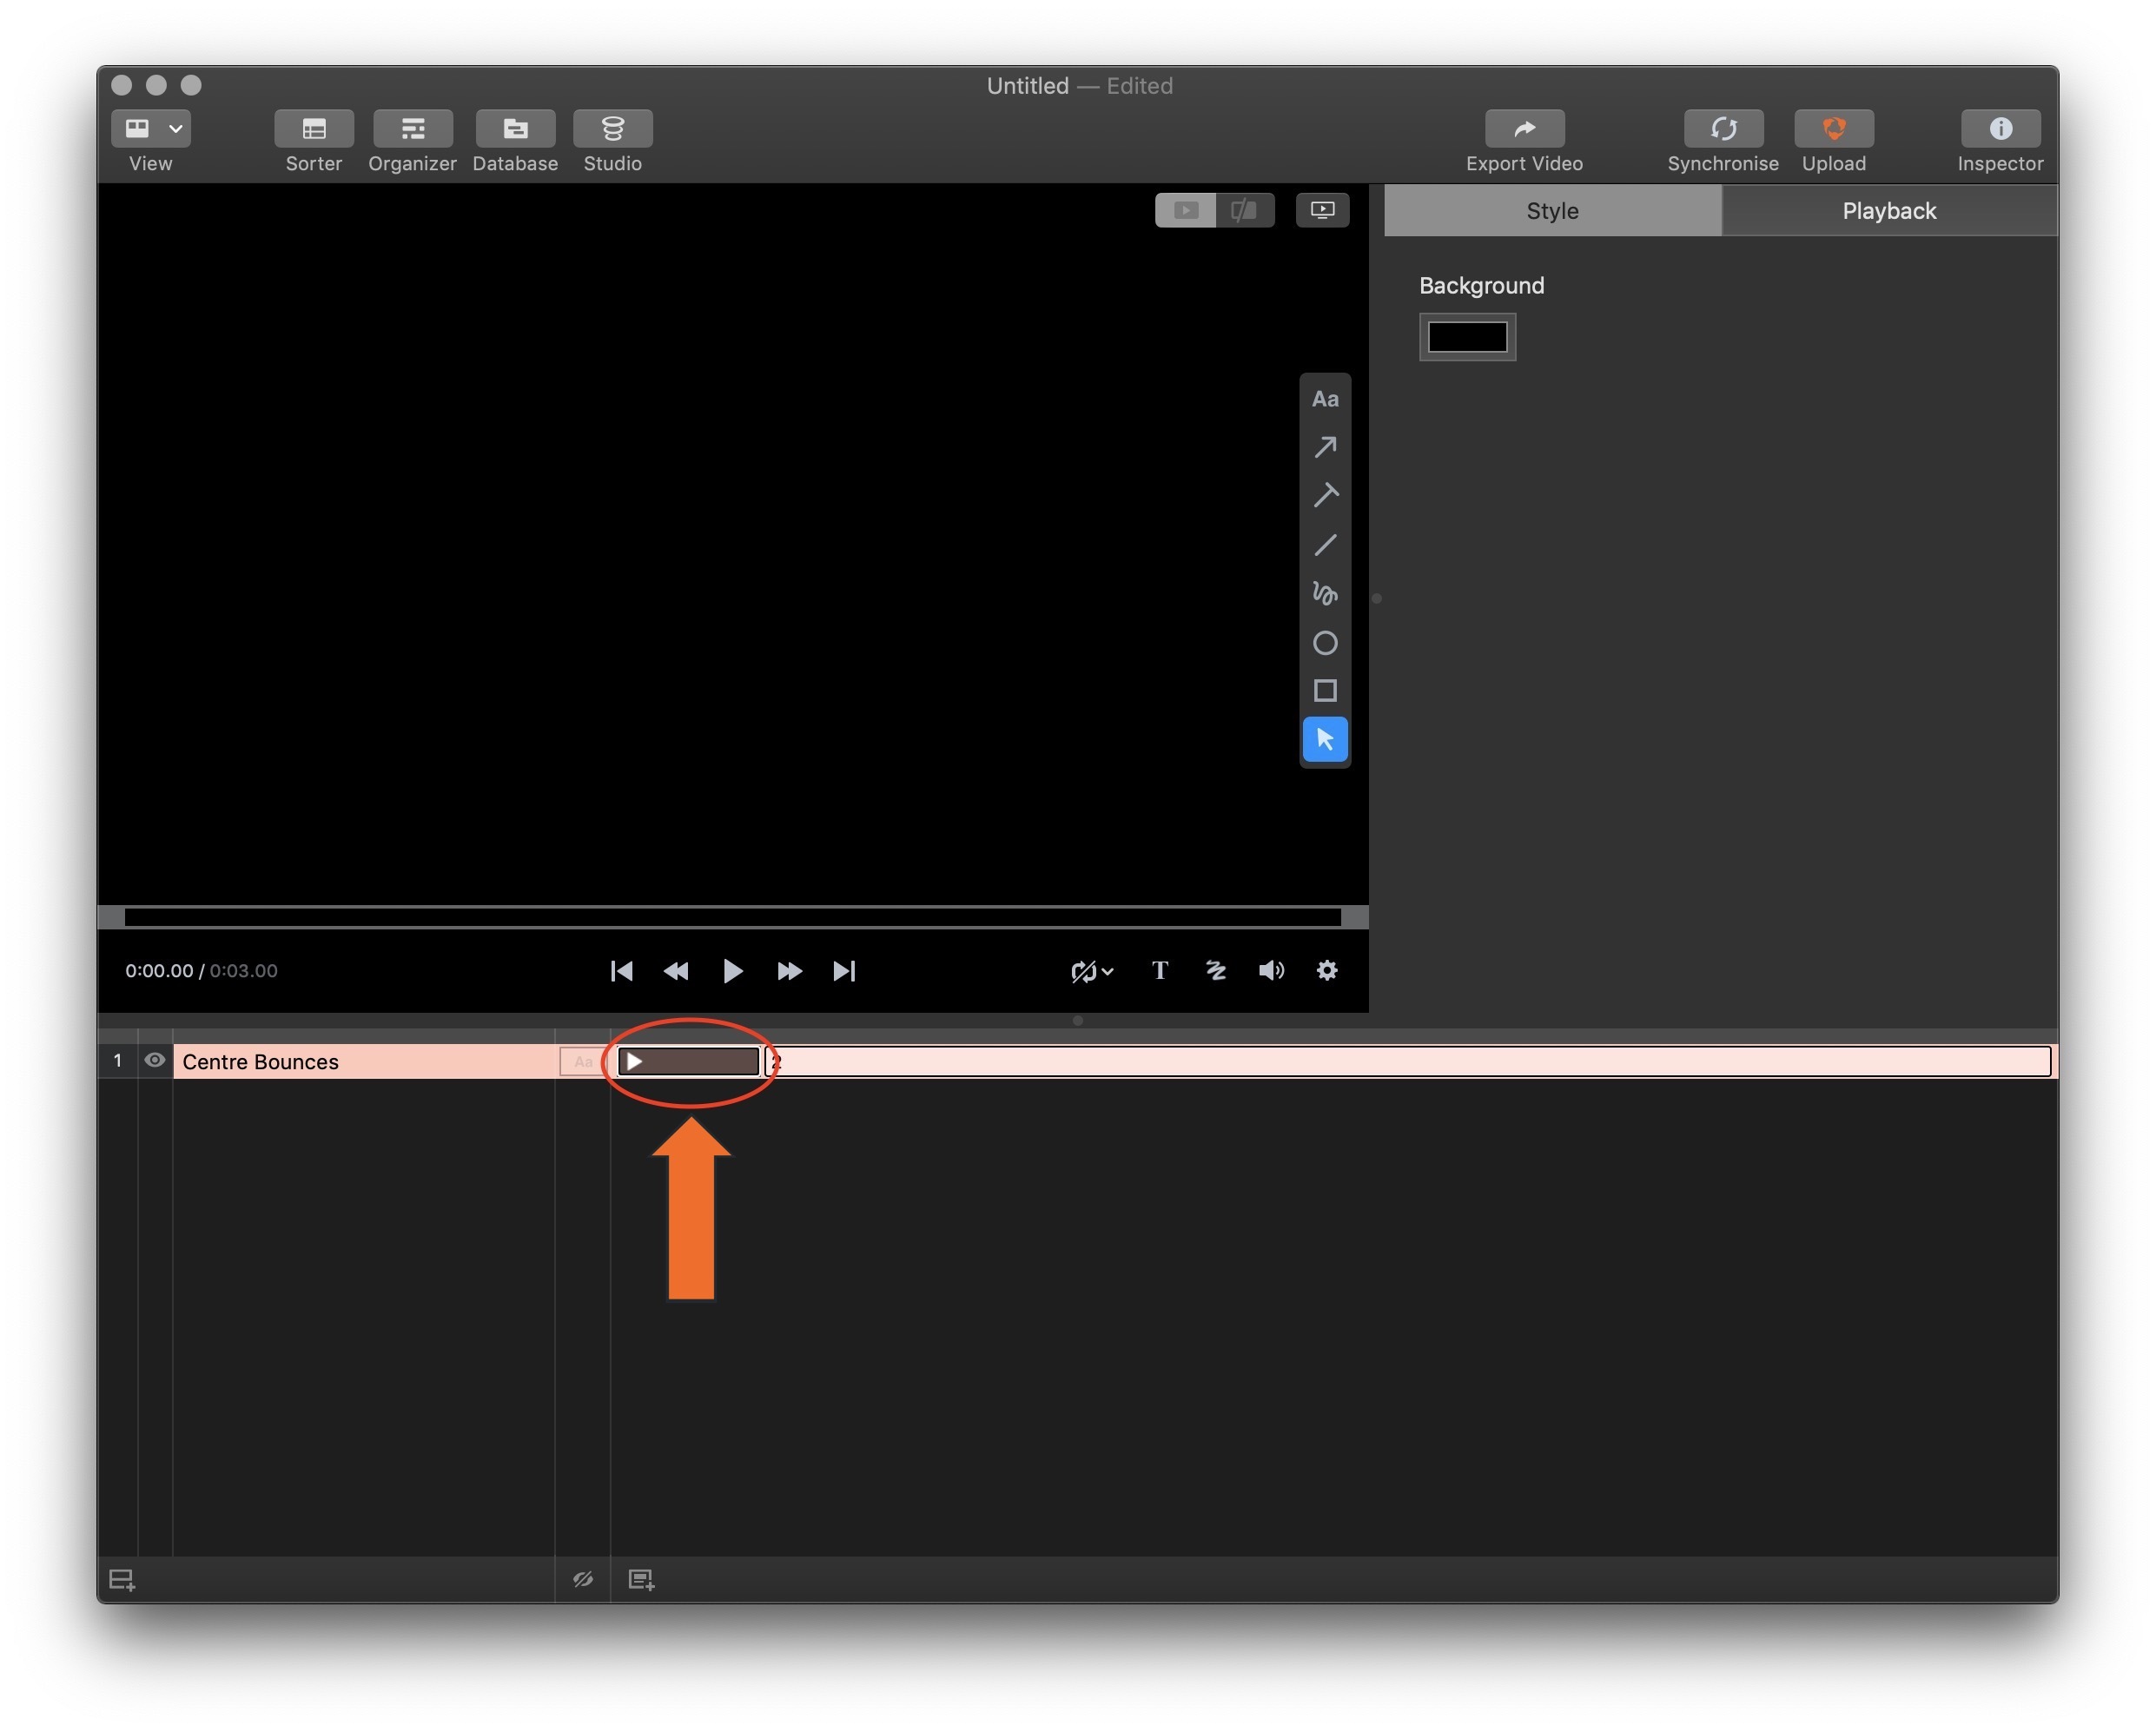
Press Command + V (Paste). The image or a portion of the image will appear in the square.